Creating zip files with a password is a fairly easy way to add some security to information that you are sending via email. It’s not really good encryption, but it will keep many people out.
I suggest using 7-Zip. It’s an open-source and free application that runs on Windows, Linux and Mac. 7-zip has some better password encryption options than the zip programs built into some operating systems. This does mean that both the sender and recipient need to install 7-Zip, but I think it’s worth it.
If you are on a Mac, see my post for that platform.
Install 7-Zip
Do this on both the sending computer and the recipient computer.
Download 7-Zip for your computer from their download page.
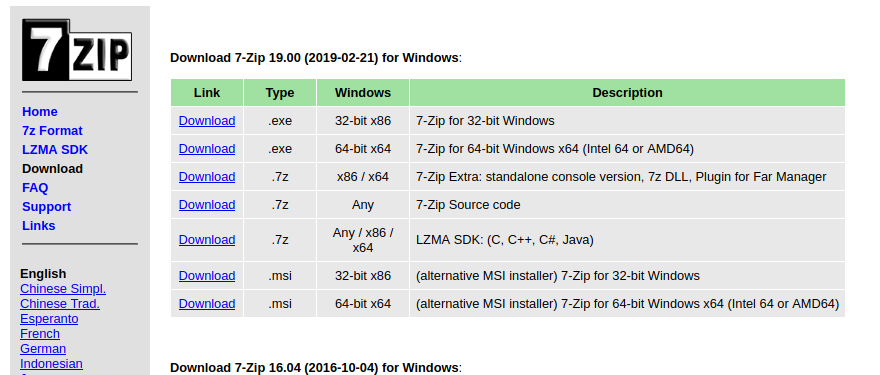
The first table on the page is the most recent stable version. Pick the 64-bit exe. In this screen shot it is the second row. This should work for most anyone these days. Pay attention to where the file is saved, it is probably in Downloads.
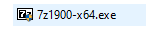
Open File Explorer and navigate to the downloaded file. Double click on the file to start the install. The file will be named 7z1900-64.exe, where the 1900 may be different. There will be a black and white icon next to it.
During the install, the defaults are all fine. You may need to enter an administrator password for the install to finish.
Creating a password protected file
Start by putting the files that you want to send in a folder by themselves, even if it’s only a single file. This makes it easy to keep track of what is being sent. It also helps the recipient as they will get the same folder name when they uncompress the file.
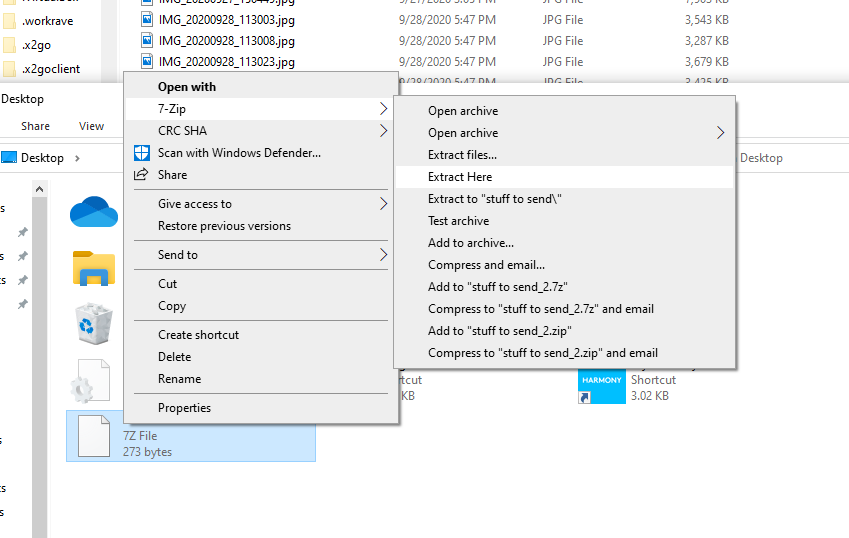
Open Windows Explorer and navigate to the folder that you want to send. Now right click on the folder that you put all of your files in. Then click on 7-Zip and then Add to archive… If the 7-Zip option isn’t in the right-click menu, it is likely the case that you installed the 32-bit version rather than the 64-bit version. Uninstall 7-Zip and then go back to the download page and make sure you get the 64-bit version.
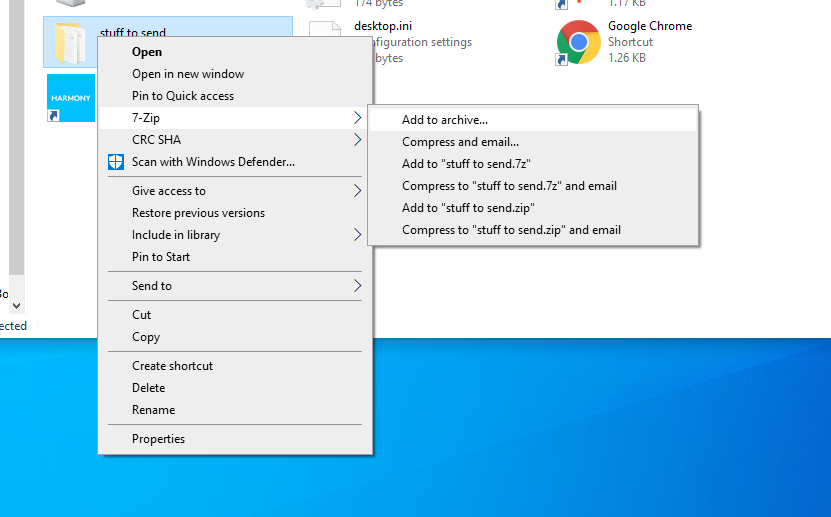
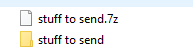
In the archive window there is a section in the lower right to enter a password. You need to enter it twice to be sure it was typed correctly. Leave everything else at the defaults. This will use AES-256 encryption, lower right corner, to encrypt the file. The format will be 7-Zip, so the recipient needs 7-Zip to open it. Then click OK. This will create a file with the name that you specified with a 7z extension next to the folder. If you have extensions turned off you may just see the name of the file. In the image below the file to send is the one with the paper icon named “stuff to send.7z”. This was created from the yellow folder “stuff to send”.
Attach this file to an email and send it with a simple message. DO NOT PUT THE PASSWORD IN THE EMAIL. Contact the recipient through another means, phone, text, encrypted chat (WhatsApp) to send the password.
Opening a password protected file
The recipient saves the file to their computer. You will need to pay attention to where the file is saved. It might be in Documents, it might be in Downloads or some other location depending on your email client.
Open File Explorer and navigate to the downloaded file. Then right click on the file and select 7-Zip, then Extract Here… You will then be prompted for the password. When it finishes you will have a folder with the files that were sent.